Importing Microsoft Excel Files
The very nature of an insurance agency requires extreme caution and care, especially when
downloading client policies. Some carriers do not supply AL3 files for
adding a policy header and client or direct bill commission statements. Another option is available to import a Microsoft® Excel®
spreadsheet.
Quickly navigate to procedures included in this topic by clicking one of the links below:
To Set Up the Microsoft Excel Spreadsheet for Policy Information, please contact Support
To Set Up the Microsoft Excel Spreadsheet for Suspect Information, please contact Support
To Set Up the Microsoft Excel Spreadsheet for Commissions Information
To Route the Exchange Manager to the Folder
To Set Up the Microsoft Excel Spreadsheet for Policy Information
There are three different format options for the Microsoft Excel spreadsheet import. The format selected must have the correct
number of columns and have the columns in a specific order for the import to process correctly.
Note: All columns are required and must be present even if they will not be used. The associated rows can be left blank.
- Basic Microsoft Excel Import Format (Zurich Format):This format is used to create a client and to assign a policy to that client. The policy will have no specific policy information on it; it will just create a policy header. The following are the column names and the order in which they need to appear on the spreadsheet:
- LOB
- Policy Number
- Effective Date
- Expiration Date
- Named Insured
- Client Type
- SIC Code
- Premium
- Primary Contact
- Primary Contact Email
- Location Address
- Location City
- Location State
- Location Zip
- Business Phone
- Business Fax
- Agency
- Branch
- Department
- Producer First Name
- Producer Last Name
- NAIC
- Client / Prospect Microsoft Excel Format: This format allows the agency to decide whether to import the person into the organization as either a client or a prospect. A client will have the associated policy imported into the system into the policy section. A prospect will have the associated policy created in the marketing section. The following are the column names and the order in which they need to appear on the spreadsheet:
- LOB
- Policy Number
- Effective Date
- Expiration Date
- Named Insured
- Client Type
- SIC Code
- Premium
- Primary Contact
- Primary Contact Email
- Location Address
- Location City
- Location State
- Location Zip
- Business Phone
- Business Fax
- Agency
- Branch
- Department
- Producer First Name
- Producer Last Name
- NAIC
- Client Stage
- Policy Servicing Microsoft Excel Format: This format allows the agency to not only import a file to create a client and policy but will also allow servicing on existing policies. The following are the column names and the order in which they need to appear on the spreadsheet:
- LOB
- Policy Number
- Effective Date
- Expiration Date
- Named Insured
- Client Type
- SIC Code
- Premium
- Primary Contact
- Primary Contact Email
- Location Address
- Location City
- Location State
- Location Zip
- Business Phone
- Business Fax
- Agency
- Branch
- Department
- Producer First Name
- Producer Last Name
- NAIC
- Client Stage
- Policy Stage
- Transaction Type
Important: Only the following are valid transaction types; New Business, Renewal, Endorsement, Cancellation, Reinstatement, and Audit.
- Transaction Eff Date
- Mailing Address
- Mailing City
- Mailing State
- Mailing Zip
- Notes
- Retail Agent Code
- Commission Amount
- Microsoft Excel Spreadsheet Required Fields: Although there are three different formats for the Microsoft Excel Spreadsheet, all three formats share the same
required files that need to be filled out for the spreadsheet to process correctly.
The following columns are required fields that need to be filled out for the spreadsheet to import
properly:
- LOB
- Policy Number
- Effective Date
- Expiration Date
- Named Insured
- Client Type
- Branch
- Department
- Producer First Name
- Producer Last Name
- NAIC
- Transaction Type (Required only for the Policy Servicing spreadsheet.)
- Transaction Eff Date (Required only for the Policy Servicing spreadsheet.)
Note: Policy Number, Named Insured, and Primary Contact information must be unique.
DO NOT use “same” in the cells as a place holder. This will cause multiple items to become
one record. Even if a policy number is unavailable, because it is not an actual policy,
create a temporary policy number that contains a beginning letter, a few digits in the
middle and an ending letter (ex. A445879L).
- Saving Files to Computer
Prior to using the Microsoft Excel Import: The Microsoft Excel files need to be saved to either a local or a network drive. Create a folder (select an appropriate name) and place the Microsoft Excel files in the folder.
Note: The folder can be used repeatedly; a new folder for each file is not necessary.
To Set Up the Microsoft Excel Spreadsheet for Suspect Information
A suspect list with no policy information can be added to Nexsure. The format must have the correct number of columns and have the columns in a specific order for the import to process correctly.
Note: All columns are required and must be present even if they will not be used. The associated rows can be left blank.
- Suspect Excel Format – This format allows the agency to import a suspect into the organization. A
suspect imported into Nexsure will only contain suspect information and will not be associated with a policy.
- Named Insured
- Client Type
- Primary Contact First
- Primary Contact Last
- Primary Contact Email
- Location Address
- Location City
- Location State
- Location Zip
- Business Phone
- Business Fax
- Branch
- Department
- Producer First Name
- Producer Last Name
Note: Once the spreadsheet is imported, an Error  icon will be displayed next to the suspect file to denote that there is no policy associated with the suspect. The client (suspect) information will be displayed on the client profile screens.
To Set Up the Microsoft Excel Spreadsheet for Commissions Information
The Microsoft Excel spreadsheet must be set up exactly as explained below. All columns in this Microsoft Excel spreadsheet are required and must be filled out for the commission download to work properly.
Note: Clients and policies must exist in Nexsure prior to importing the spreadsheet. If a client and / or policy does not exist in Nexsure, an error will result and the process will be an exception until the necessary information has been added.
- Commission Download Microsoft Excel Import Format: This format is used to supply the agency policy premium amounts and commission amounts for specified policies. A sample spreadsheet is available. The following columns are required fields that need to be filled out for the spreadsheet to import
properly:
- LOB
- Policy Number
- Effective Date
- Expiration Date
- Named Insured
- NAIC
- Transaction Type
Important: Only the following are valid transaction types; New Business, Renewal, Endorsement, Cancellation, Reinstatement, Installment, and Audit.
- Trans Effective Date
- Gross Amount
- Commission Rate
- Commission Amount


Note: All information in this spreadsheet needs to be correct. If the information supplied is not correct the client or policy may not be found.
To Route the Exchange Manager to the Folder
Before being able to import a file, the Exchange Manager must be mapped to the folder containing
the files. The mapping from the Exchange Manager to the folder containing the files need only
be set up once. Nexsure will remember the mapping.
Note: Depending on security rights not all users will be able to add a label and directory.
- On the Home menu, click INTERFACE.
- On the interface tab, click [Import Files].
- Select the appropriate branch and click Continue.


- Click Setup.
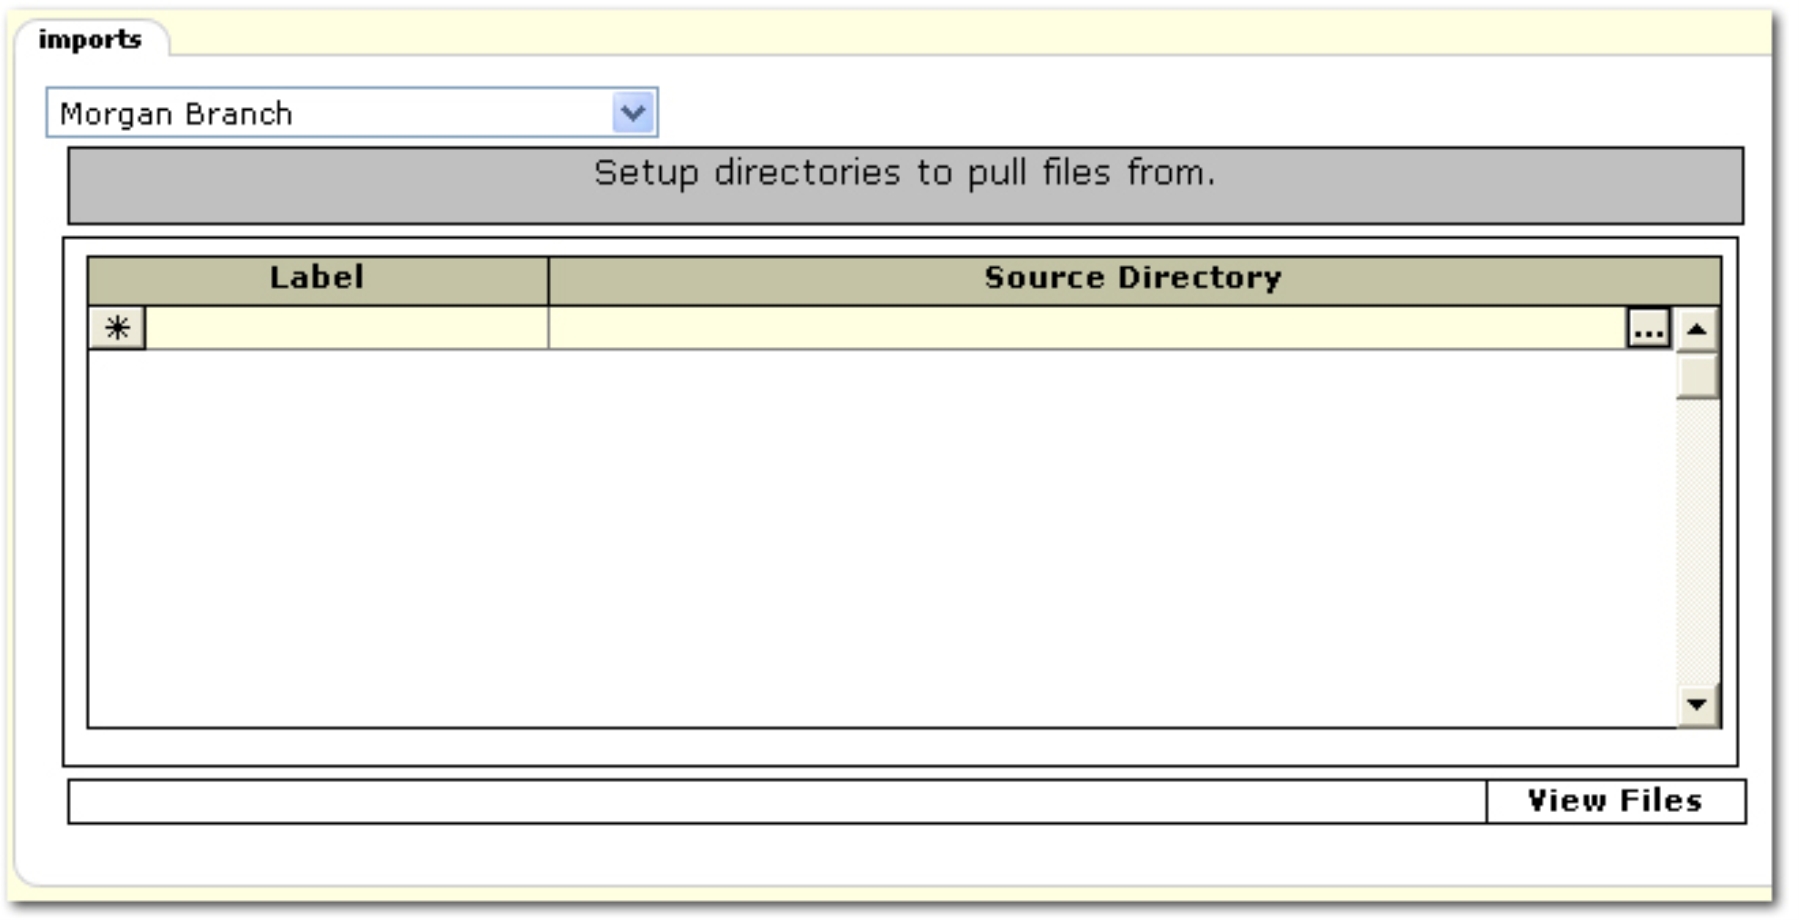
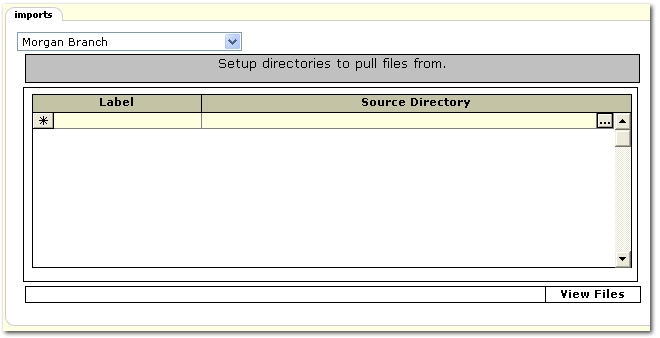
- Click in the first Label cell and enter a descriptive name for the source directory.
- In the Source Directory column, click the Ellipsis
 icon. Browse to the source directory.
- Once the source directory has been set up, click View Files. The files located within the source directory will be displayed.
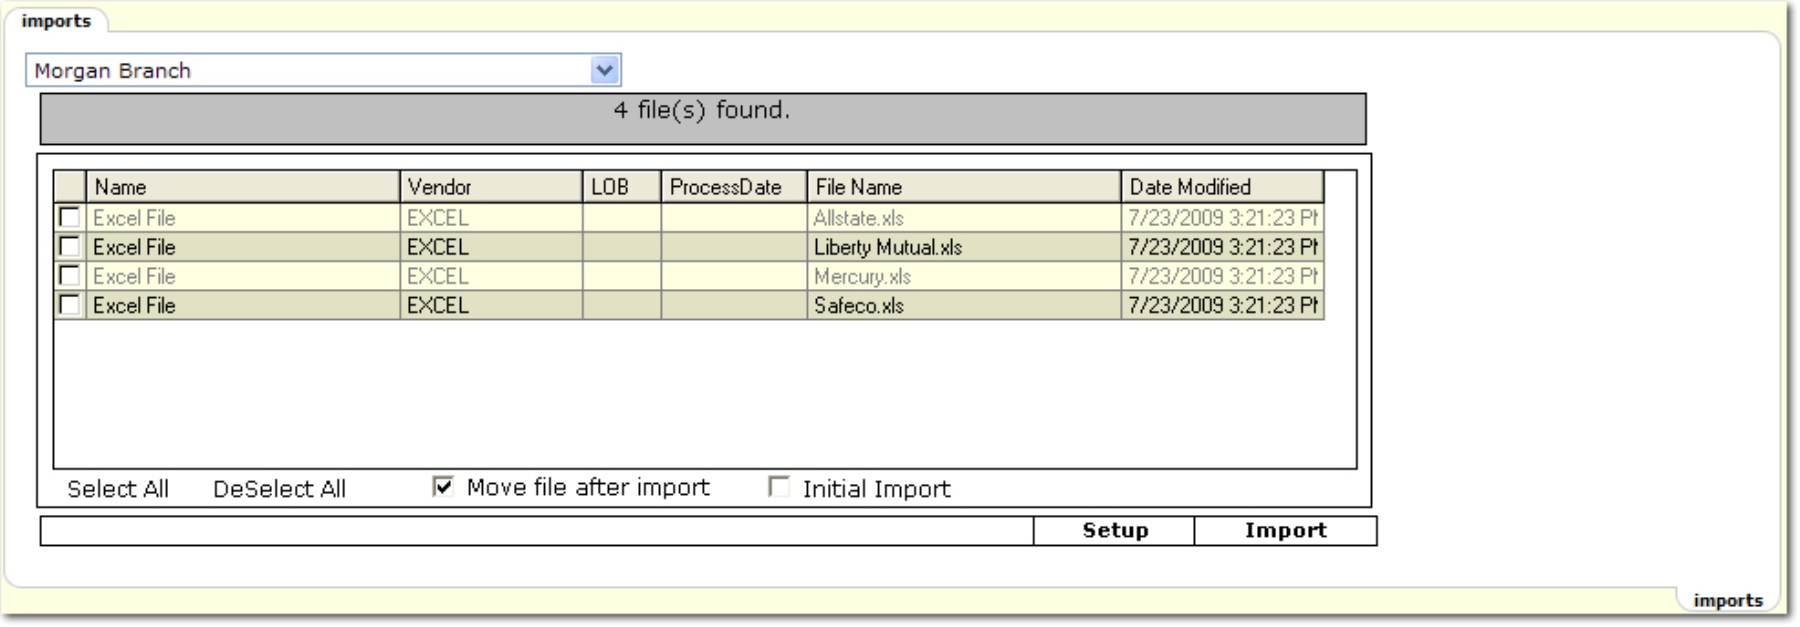
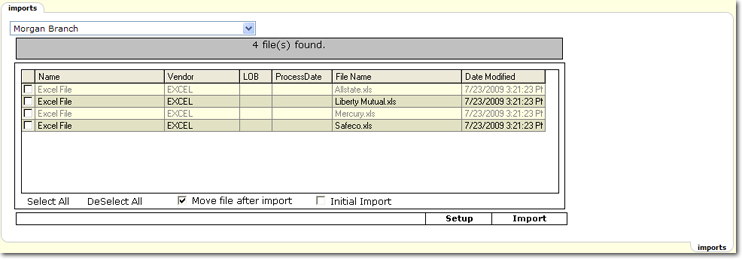
- The following options are available on the screen:
- Select All: This will select all files located on the screen for import.
- Deselect All: This will deselect all of the files located on the screen for import.
- Move file after import: When this is selected it will move the file after import to another folder.
The folder is created automatically by Nexsure and this is done to reduce the risk of bringing a file
in more than once. If it is not selected then the same files that were imported will display the next
time this screen is accessed.
- Initial Import: This is used when trying to populate an empty organization.
Important: The Initial Import option must be used with caution as there is a risk of creating duplicate policies and or clients if the organization is not empty.
- Select the file or files to be imported by placing a check mark in the first column on the imports tab.
- Select Move file after import or Initial Import if necessary.
- Click Import. Once the file has been import the screen will refresh and the main interface tab is displayed with the new import file.

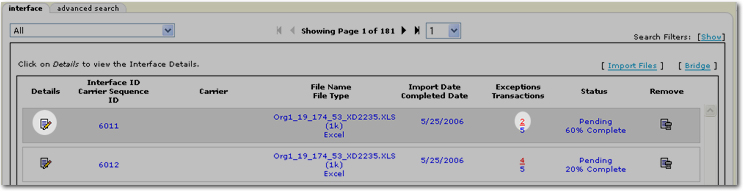
- In the Exceptions column, if there are any exceptions a red number will be displayed showing the number of exceptions that need to be resolved before the import will be complete. Click the red number or the Details
 icon to access the exceptions. For more information about Exceptions see the Interface topic.
Note: Microsoft Excel downloads do not populate any information on the ACORD forms.
Interface
AL1 and AL3 Support
Carrier Commission Downloads